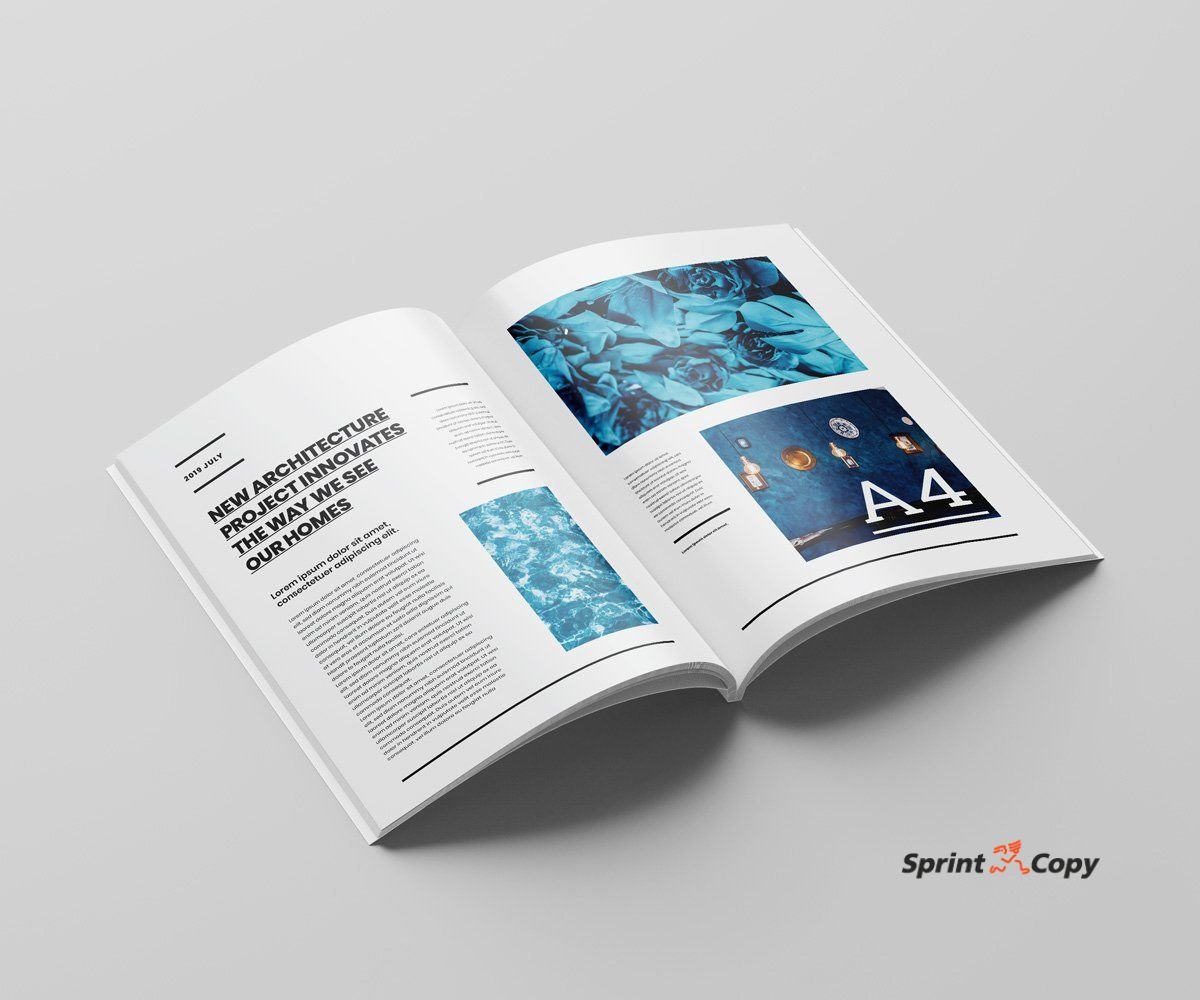
How to create a magazine in 5 steps: a practical guide to design and print your publication
Before diving in, it’s important to define the purpose of your magazine. Is it aimed at a general or niche audience? Will it be a recurring publication or a one-time edition? Define your main goal—whether it’s to inform, entertain, educate, or promote—and profile your ideal reader. This will help guide decisions on layout, structure, and content type.
Also, be clear on your available budget, as this will affect print quantity, paper type, and binding method. With these foundations in place, you're ready to start.
Step 1: Define the concept and editorial structure
A high-quality magazine starts with solid planning. Choose a theme aligned with your goals and create a content structure with fixed sections (interviews, features, agenda, etc.). Assign space to each section and decide whether to work with contributors or keep writing in-house.
This step also includes defining your tone and writing style. Do you prefer a technical, educational, or inspirational tone? Make sure everything aligns with your brand identity and audience profile.
Step 2: Design the layout and visual style
Design is your magazine’s visual identity. A well-structured layout improves readability and brings consistency to your content. Use professional tools like Adobe InDesign or Canva Pro, and aim for a neat grid, clear typographic hierarchy, and a cohesive color palette.
Don’t forget to add visual elements—photos, illustrations, charts, or infographics—that support your content. And remember: less is more. A clean, well-balanced layout always works best.
Step 3: Choose the right format, paper, and binding
The physical format greatly influences perceived quality. Pick a suitable size (A4, A5, or custom) based on your content and budget. Glossy or matte coated paper is the most common choice, but recycled or specialty papers offer a more distinctive finish.
Binding will depend on the magazine’s thickness: saddle stitching works for thinner issues, while perfect binding or glue binding is better for longer publications.
Step 4: Prepare your files for printing
This step is crucial to avoid last-minute surprises. Always export your files as PDFs with bleed and crop marks. Make sure images are at 300 dpi, in CMYK color mode, and that fonts are embedded or outlined.
Double-check safety margins, and make sure everything is well aligned. It’s a good idea to request a digital or printed proof before your final print run.
Step 5: Print your magazine with a professional print shop
While home printing is possible, working with a professional printer like Sprintcopy makes all the difference. Choose offset or digital printing depending on your volume and finish, and get expert advice on every technical detail.
A reliable print shop ensures fast turnaround, consistent quality, and extras like binding, packaging, and shipping if needed.
Common mistakes when creating your first magazine and how to avoid them
Many beginner errors can be avoided with planning. Here are the most common:
- Ignoring margins or bleed in the layout
- Using low-resolution images
- Skipping spelling or content checks
- Poor visual hierarchy
- Not testing the print before the final run
Taking time to review and test each step can save you time, money, and unnecessary stress.
Your magazine in your hands: get expert advice and a personalized quote from Sprintcopy
Launching your own magazine is an exciting challenge, and at Sprintcopy we’re here to help you make it happen. Whether you already have a finished design or need full support, we offer expert guidance, cutting-edge technology, and express delivery in Barcelona and surrounding areas.
Request a quote with no obligation, and let us help turn your idea into a professional publication that makes an impact.

